It’s Spring! And that means time for some Spring Cleaning. Your beauty drawer is no exception and while we always hear how important it is to clean your makeup brushes, there are a few tools that are easily overlooked and desperately need a good cleaning. When was the last time you cleaned your blow dryer? You will be amazed how much dust, hair and just grime builds up on your blow dryer. And if you were thinking about replacing it, clean it first! You can get so much more power out of a clean dryer. Here is a step-by-step guide to making it nearly-new again.
1. Dry your hair one morning and then start the cleaning process. It’s important to let everything thoroughly dry so give it a few hours before using it again.
2. Start by wiping down the handle and outside of the dryer with Clorox or other disinfectant cleaning clothes. All of the times you put the product in your hair and then grabbed your dryer with product-y hands will be easily wiped off! For any tough spots or tough build up in the handle, makeup remover on a cotton ball will do the trick.
3. Each dryer is different, but most have the screen on the back. This can be either popped off or twisted off. My Hot Tools dryer needs about a 1/4 inch turn.

4. Take the little mesh screen out and set it aside. The back of your dryer will be exposed. Do not turn it on!

5. Wash the back guard and screen (the black net on the right) with mild soap and water and set on a towel to dry. Make 100% sure it’s dry before assembling the dryer. Rinse out the guard as well and let dry.

6. Take tweezers and remove all the hair and dust from each little groove in the back of your dryer. If you are like me the first time I did this, you’ll be amazed! Once you’ve removed all visible buildup, take a damp wash cloth and wipe out any excess.

Once everything is dry, reassemble and get ready to be wowed with a more powerful and efficient dryer!
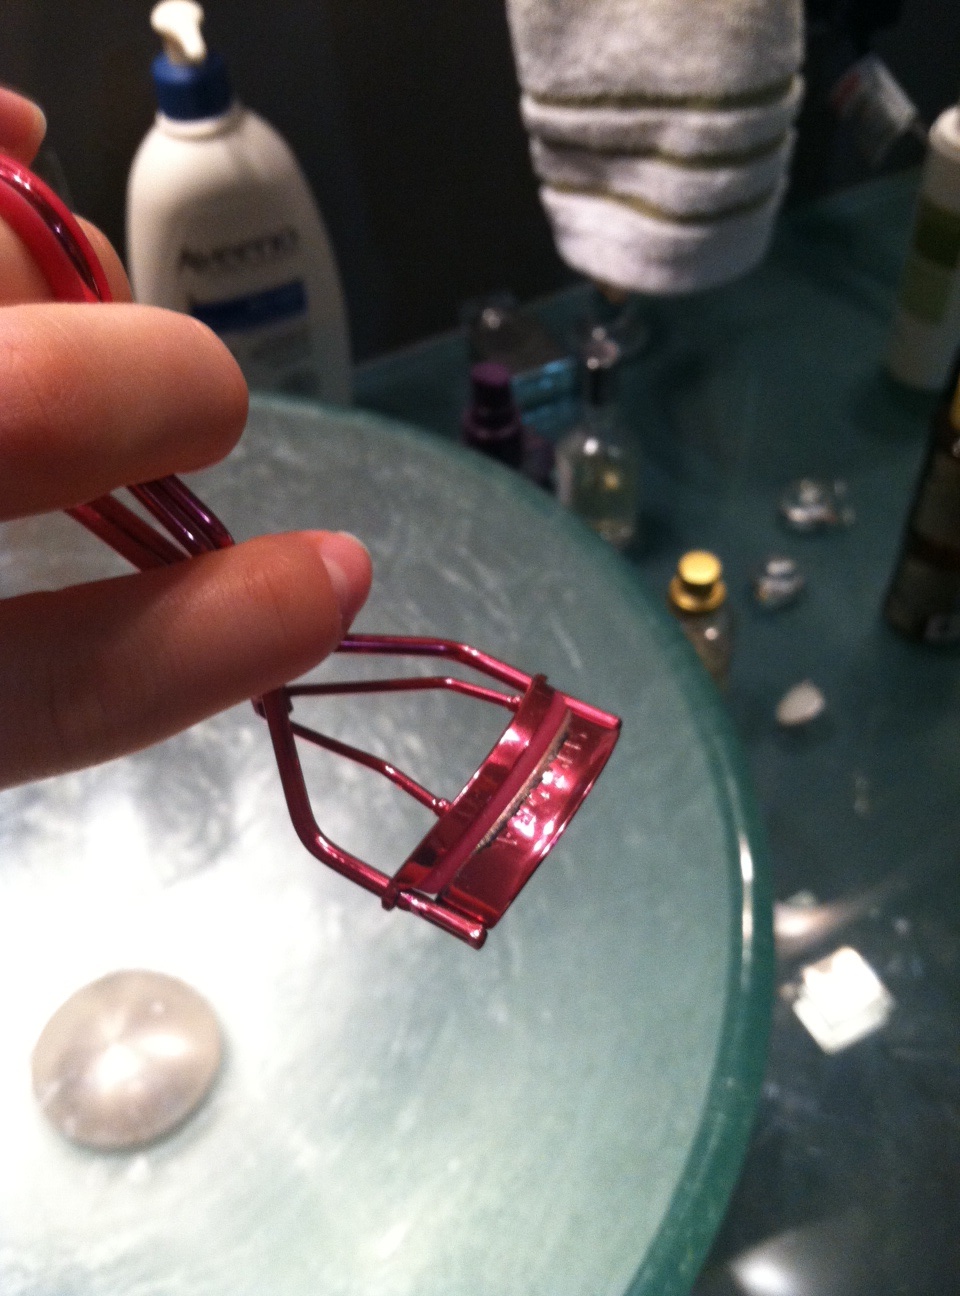
Next up on your cleaning spree, your eyelash curler. When was the last time you cleaned that sucker?! Luckily, it will take less than three minutes and you’ll have a sparkling new curler.
1. Check out how dirty it is! Yuck. Even when curling bare lashes some leftover mascara and eye makeup always ends up on the pads of the curler.

2. Take a cotton ball with eye makeup remove and swipe all sides of the pad and the top and bottom pieces of the curler.
3. Once all buildup is removed, take a disinfectant wipe and wipe the whole thing down. Rise with water and let dry!
What beauty tools do you have to keep clean? Is there anything you’d like to know how to clean? Leave it in the comments and I’ll give it a try! 🙂


Leave a comment